Backups
This article will walk you through the process of backing up your projects and restoring them in case of unexpected problems when upgrading from an older version of the Varwin XRMS to a newer version
Backup - the process of creating backup copies of data, designed to restore them in case of damage
Creating a backup
Creating backups is only possible if, at the stage of choosing the path to save the folder with user settings, you specify the path where they are already stored. That means, if you choose a folder that does not contain user data, then the backup step during installation will be skipped
- Before you start creating a backup, stop Varwin work and download the new version of Varwin XRMS
- Run the installer. First of all, they will ask if you want to remove the old version of the Varwin XRMS? Spoiler: if you choose “no”, the installer will refuse to install another version for you in parallel! Therefore, at this point, you must select “yes”. The removal of the old version of the platform will begin
- Next, select the path of the desired location for the VarwinData folder and click “Next”
If you have previously installed a version of the platform older than 0.16.0, the installer will notify you that when updating the platform, you may encounter incorrect work of current projects in the new version and will offer you to read the article on their migration to newer versions. Click “Update”

The
VarwinDatafolder stores all information about the user and created projects. It is advisable to remember the location of this folder, it will come in handy in case of restoring a backup.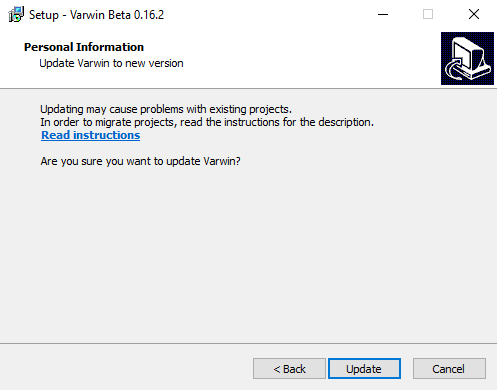
Next, you need to choose a path to create a backup. The size of the backup folder will depend on the number and size of your projects in the library
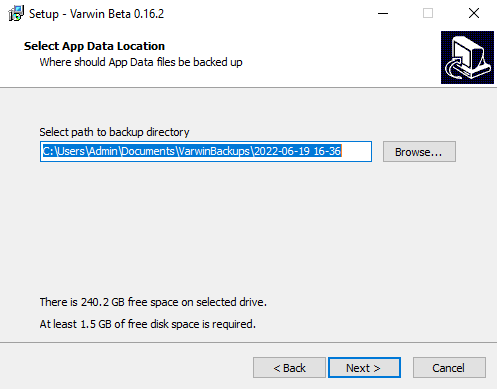
By default, it is created in the current user’s Documents folder, such as
C:\Users\User\Documents\VarwinBackups\DATE, where ``DATE`` will be replaced with the date the backup was created in yearmonthday format
If you need to choose a different path for creating a copy, click the “Browse” button and select the path. Once you’ve done that, click “Next”. The process of copying your data to the specified path will begin.
- If you have Varwin installed on your computer, the uninstall process will begin before installation
- Before starting the installation process, when the installer asks for additional tasks, check the box “Create an icon on the desktop”, it will come in handy later. Click “Next”. If the platform is not currently installed on the PC, the installation process will start immediately
Restoring from a backup
If you have difficulty opening or launching projects during the transition to a new version of the Varwin, or you just need to restore a copy of them, you can easily transfer data from the folder with a backup copy. For this:
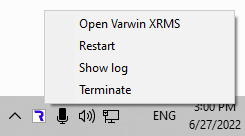
- Terminate Varwin XRMS in the Windows tray in the lower right corner of the screen
- Remove the current version of Varwin in any way convenient for you, for example, through the installation and removal of Windows programs
Open the folder with the necessary backup and copy the contents to the
VarwinDatafolder, the path to which you chose during the previous installation of Varwin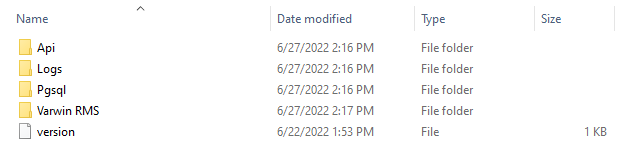

If for some reason you can’t find where the
VarwinDatafolder is, don’t despair! Go to your Desktop, right click on the Varwin icon, select properties and go to the Shortcut tab. In the Object field you will have text, for example"C:\Program Files\Varwin\VarwinLauncher.exe" --app-data=C:\VarwinData, from which we only need the pathC:\VarwinData. It indicates what exactly in this folder contains the user settings.The path that is specified in the example is the default.If you specified your own path during the installation of Varwin XRMS, it will differ from the path in the exampleDownload the installation file of the required version of Varwin and install it on your PC following the hints of the installer

It is necessary to install Varwin XRMS only after restoring VarwinData from a backup
- Wait for the installation to complete and start Varwin. If you did everything right, your projects will revert to the state they were in when they were copied