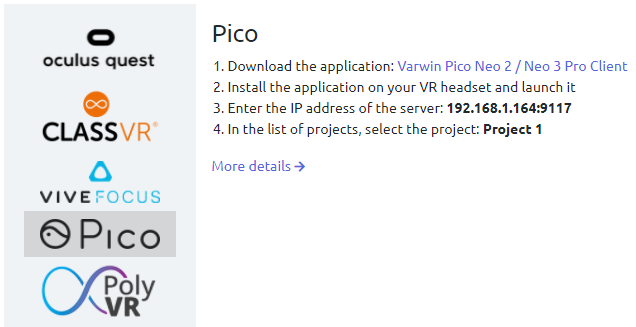
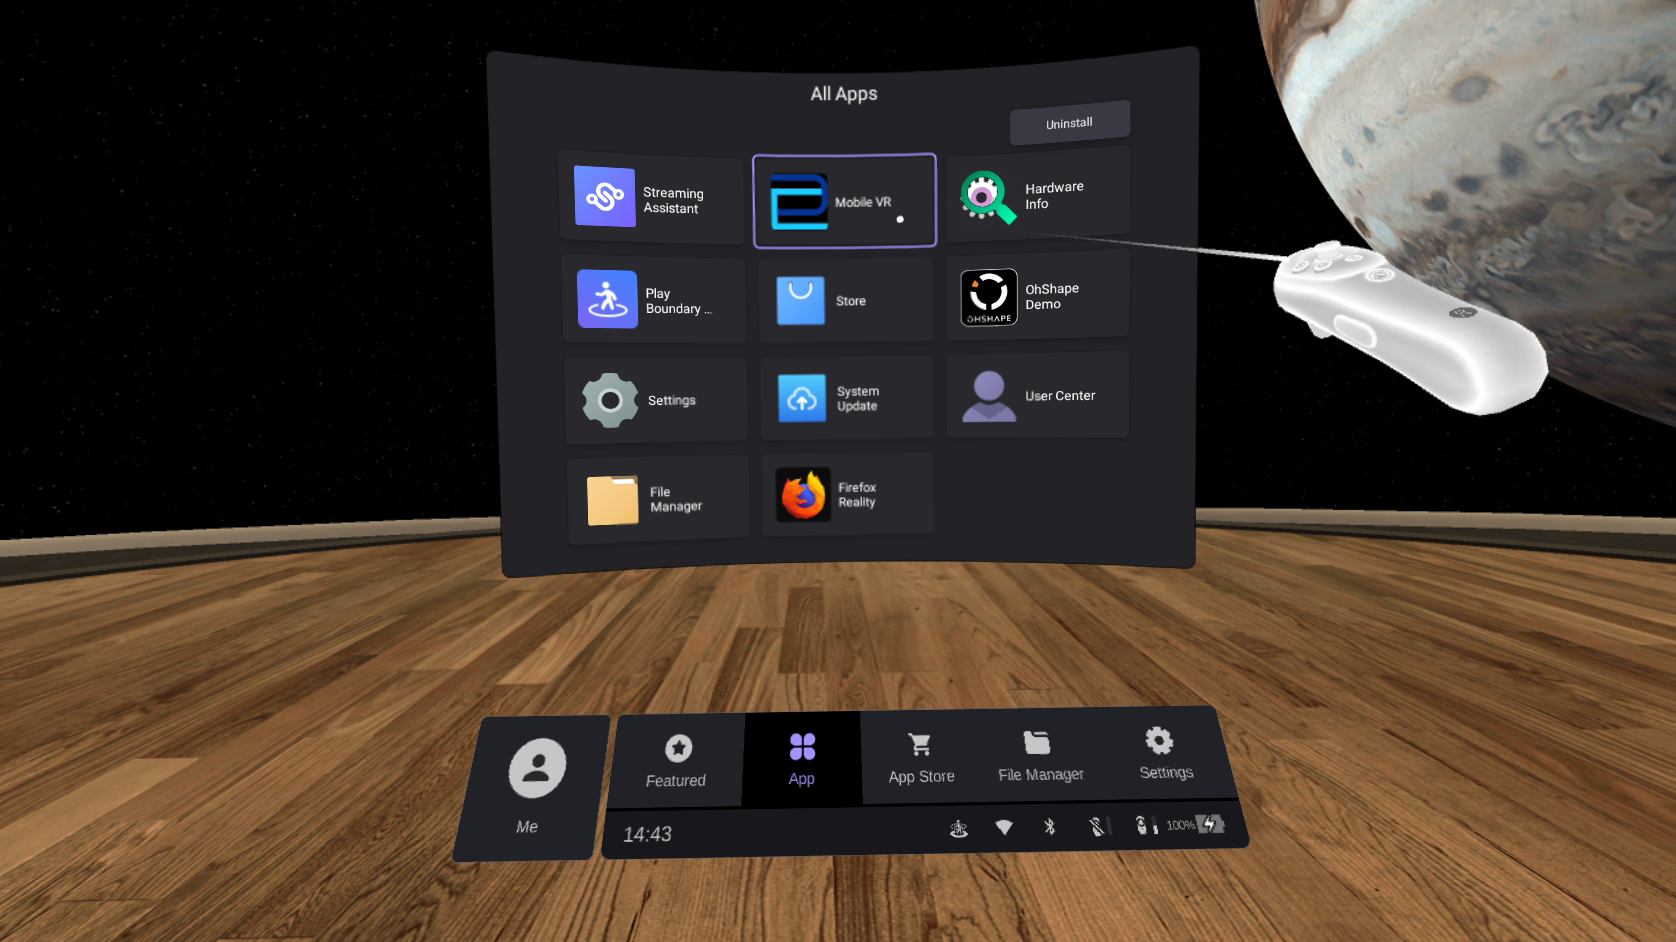
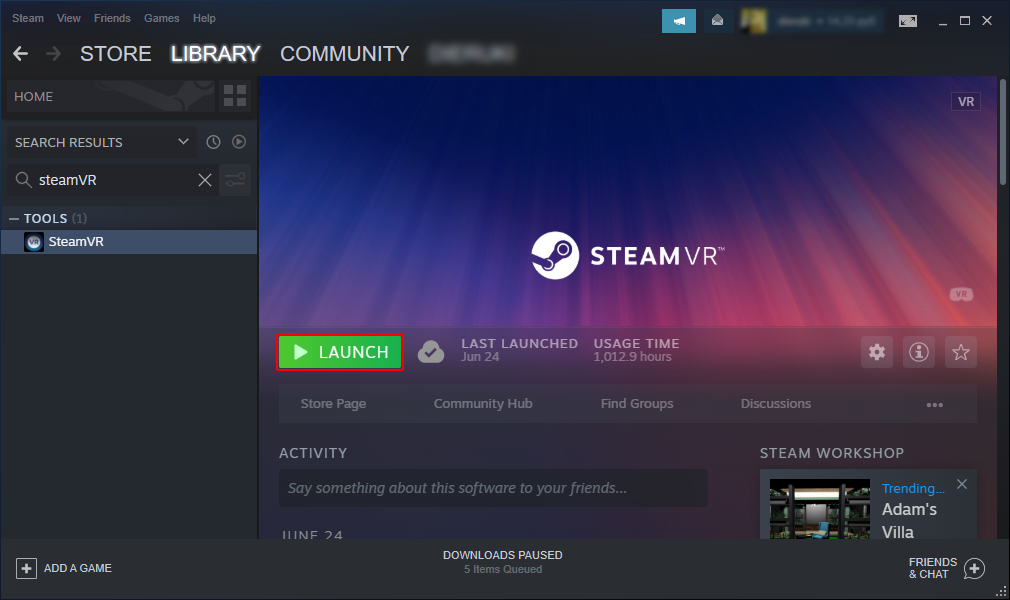
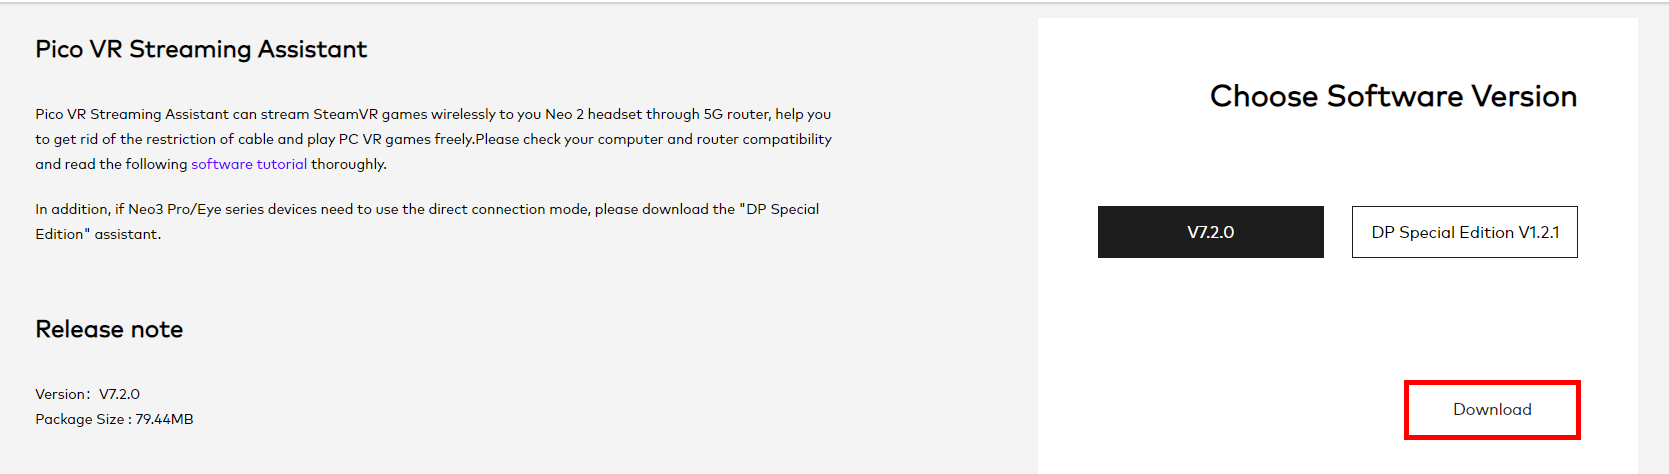
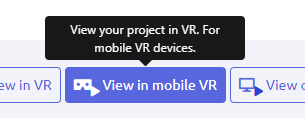
VARWIN DOCS Working with the headsets Varwin Mobile Installing the mobile client Working with Pico Neo Current: Launching the project on PicoNeo Launching the project on PicoNeo Running the project in Mobile modeCreate mobile projectTo launch the project in mobile mode, click “View in Mobile VR”The modal window opens. Go to the Pico tabCopy the IP address from point 3 Don’t forget to install the application for a mobile headset! In the Pico Neo, open “Application” and launch “Mobile VR”Connect to the server using the copied IP address Read more about connections and projects in the article “Connecting to a server” Select the desired project from the listLaunching a project in Desktop modeNavigate to Steam gaming platform site, download and install it on your computerGo to SteamVR site and downloadLaunch SteamVR from Steam to complete the installation and restartNavigate to Pico site and download Pico VR Streaming AssistantInstall Pico VR Streaming Assistant on your computer by following the promptsConnect the helmet to your computer, put it on and turn it on. Start Streaming Assistant, following the prompts Pico Neo 2 and Pico Neo 3 Pro use different interfaces for connectionPico Neo 2 connects with a normal USB Type-C to USB Type-A cablePico Neo 3 Pro connects to your PC with a USB Type-C cable on one side and USB Type-A + DisplayPort on the other Once you have the SteamVR game space loaded, open the platform on your computer and launch the desired project by pressing “View in Mobile VR” ×